

Turn your cosplay armor build into an Instagram carousel makers can use Posted Nov 14, 2026
Article ListSponsored Post
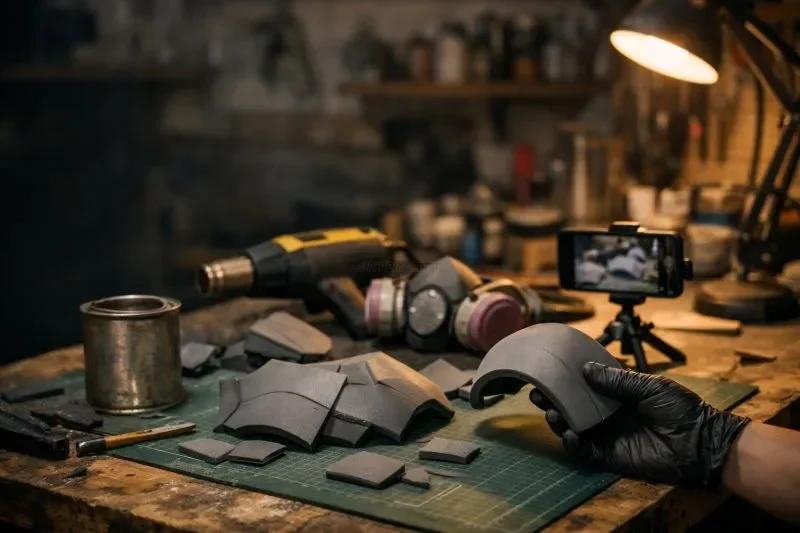
It’s 1 a.m., foam dust is everywhere, and the shoulder plate finally holds its curve. Your phone has a dozen progress shots, including one blurry photo of the pattern before you cut it. That may be the photo another maker needs most.
Take a hypothetical cosplayer in Columbus, Ohio, building sci-fi armor for a winter convention. They want to post their chest plate build while other attendees still have time to try it. The carousel needs enough detail to follow with a sheet of foam on the workbench.
Why build guides get saved
A finished costume earns a quick reaction. A readable pattern layout gives another maker a reason to return when their supplies arrive.
Build guides answer questions that surface halfway through a project: which edge gets beveled, where a strap attaches, how much clearance to leave over a padded shirt. Someone might save your post at lunch and open it beside their cutting mat that evening.
Give the carousel a narrow scope. “Foam chest plate with adjustable side straps” tells readers more than “Armor progress.” Our Columbus maker can leave the shoulder pieces for another post and give the chest assembly room to make sense.
The slide order
Keep each slide focused on one task. For the example chest plate, follow the order of the build:
- Pattern pieces laid out on the foam, with orientation labels and seam marks.
- A plain materials photo with a short caption identifying EVA foam thickness, contact cement, heat gun, rotary tool, and primer.
- Heat shaping, with the flat piece beside its curved form.
- Sealing before paint, with the surface preparation identified.
- Strapping, including attachment points and an on-body view.
- Finished paint in ordinary light, with a close-up of the surface.
- Mistakes, showing the fix and what to change next time.
The materials slide can stay simple. “6 mm EVA foam for chest pieces, 2 mm for raised trim” gives a plain photo practical value without turning it into a shopping graphic.
For the mistakes slide, show the damage. In this example, a trim strip buckled around a tight curve. Put the failed piece beside the replacement and mark where a relief cut helped.
Photographing foam and paint so details show
Black foam can swallow pencil marks. Photograph the pattern layout near a window with indirect light, then check that every cutting line is readable on a phone screen. Pale chalk may show up better than dark pen. Place a ruler flat beside the pieces without covering an edge.
Shoot beveled seams from a shallow angle, with light coming from the side. That makes the cut easier to see. Keep the camera position roughly consistent for the flat and heat-shaped pieces so readers can compare their profiles.
Metallic paint needs softer light. A lamp aimed straight at a silver plate can turn it into a white glare patch. Move the light sideways or soften daylight with a sheer curtain. Use a neutral background and skip filters that conceal texture.
A short label such as “inside edge,” beside an arrow, usually does enough.
Captions that answer the questions in the comments
Write down measurements as you build. After several late nights, it gets hard to remember which version of a piece actually fit.
Our example maker could record a 12-inch center piece measured before shaping, then explain that they tested it over the padded layer planned for the convention. Identify those as example measurements. Readers need to check their own fit before cutting.
Explain the steps that a progress photo cannot show. With contact cement, follow the product’s application and bonding directions, including its ventilation requirements. Keep it away from ignition sources. A dust mask does not protect against solvent vapor. When sanding foam, wear a properly fitted respirator suitable for the dust and use eye protection.
For heat shaping, describe the movement: test on scrap, keep the heat gun moving, and stop before the foam scorches. Keep hot equipment away from adhesive fumes and set it on a heat-safe surface.
Make the distinction between heat sealing the foam and applying a paint-compatible flexible sealer. Name what went on before primer and follow the specified drying time between stages.
Strapping deserves measurements, too. Include strap width, attachment method, and adjustment range. Show the inside of the chest plate, then photograph it being worn. A seated side view can reveal a lower edge that digs into the wearer’s ribs.
Timing it around convention season
Post while readers still have time to build. For the Columbus winter convention example, publishing several weeks ahead leaves room to order foam and revise a paper test fit.
Test the armor before publishing the guide. Sit down in it. Raise both arms while wearing the intended underlayer. If a strap pulls loose, photograph the corrected attachment for the carousel.
Pin the guide so people can find it among packing updates and costume photos. Closer to the event, a brief reminder can send followers back to the instructions without repeating every slide. Leave yourself time to answer measurement questions before the final pre-con weekend takes over.
What the saves count tells you
On a professional Instagram account, open the carousel and select View Insights. Look for Saves, though the layout can change. The count records save actions associated with the post. It does not identify who saved it or why.
Saves suit a build guide’s purpose better than likes because readers may need the instructions later. Compare your own guides over time, alongside comments asking specific construction questions. A higher count alone cannot tell you whether anyone finished a chest plate using your instructions.
Some makers give a pinned build guide a modest start with paid saves from Fameoria, delivered gradually rather than all at once. That only makes sense when the guide already earns its place next to someone’s cutting mat. It does not create reach or sales. Write down the date and the number you added, so you can leave those saves out when you compare guides later.
By con weekend, the example maker has a chest plate they can sit in and a guide posted early enough for someone else to use. After a day on the convention floor, they can add a photo and explain which strap needed adjusting. That repair belongs in the guide, too, for whoever opens it at their workbench next.
Comments are powered by Disqus, which loads external scripts and sets cookies.